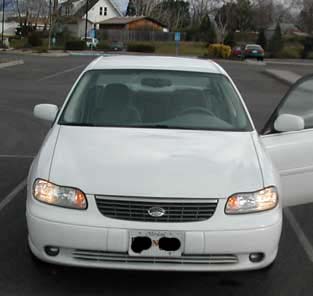
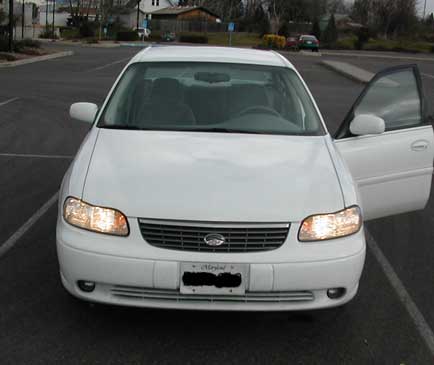
Summary: On the Chevy Malibu and other GM vehicles when the high-beam headlamps are engaged the low-beam headlamps automatically turn off. I found this absurd because I wanted to be able to have my headlamps produce as much light as they are capable of. The high-beam and low-beam lamps are in separate chambers and I see no reason why the low beams should turn off just because the high beams are engaged. This mod makes it possible. Driving with the high beams only illuminates the area ahead of you, the low beams illuminate the area just in front of you, but with this mod, you can enjoy the best of both.
Malibu headlight electrical theory:
The Malibu headlamps are controlled ground side. When the headlamps are not illuminating, there is 12V+ applied to both terminals. To turn a headlamp “on” and make it illuminate you must switch one of those terminals to ground. Bizarre? It gives me a headache to think backward, but after a while, it beings to make sense.
Under a stock configuration the headlights will work as follows:
Low beam:
Blue wire – at resting state “off” is 12V+, drops to ground when turned “on”
Orange wire – remains at 12V+ constantly
High beam:
Pink wire – at rest “off” is 12V+, drops to ground when turned “on”
Orange wire – remains at 12V+ constantly
So if we want the low beam lamps to stay on when the high beam lamps are engaged we need to drop one of those low beam terminals to ground (blue wire). In this mod the relay does that for us.
Materials Required:
- Automotive relay with wiring harness
- Line tap connectors
The relay is going to be triggered when the high beam (pink wire) drops to ground and connects the low beam (blue wire) to ground. You’ll want to use a standard automotive relay. It doesn’t matter if it does or does not have pin 87a, it’s not needed.
Wire up the relay as follows:
| Relay pin # | Connected to: | Function: |
| 85 | Pink wire, on high beam | Relay trigger (when wire drops to ground) |
| 86 | Either orange wire (I used the one on the low beam side) | “grounds” the trigger even though it’s +12V, remember to think backward |
| 30 | Any metal bolt (negative battery terminal) | True vehicle ground, negative battery terminal |
| 87 | Blue wire, on low beam | Switched pin, passes pin 30’s current (true ground) on to low beam and illuminating the lamp |
| 87a | Not connected |
You only need to perform this mod on one side of your car for it to work with both of your headlights. It doesn’t matter which side, but the driver’s side seems to be a bit easier.
Results:
Once you figure this all out and install the mod, you will be happy with the results. Your night driving on dark back roads will never be the same.
Resources:
http://www.partsexpress.com/resources/relays.html – Tutorial on relays
malibu_headlight_schematic.gif – Malibu Headlight Schematic out of Haynes Manual
Malibu Yahoo group at http://autos.groups.yahoo.com/group/chevymalibugarage/
Below are pictures detailing the headlamp disassembly and the mod installation in my car:

To get to the Malibu’s headlamp assembly, first pull up on those the two pins and remove the head light area plastic cover. Note: Passengers’ side pictured but I performed my mod on the driver’s side.

After the headlight area cover is removed, there are two tabs that when you pull up on them they will release the headlight assembly. Note: Passengers’ side is pictured but I performed my mod on the driver’s side.

This is on the drivers’ side. Ignore the color of the white wire, your relay’s wiring harness probably uses a different color for pin 85.

Once again ignore the color of my relay’s wiring harness.

My crappy but effective ground.
Before and after pictures:
I don’t have any before pictures, and I didn’t feel take taking my car apart again just for a picture.

This is with the mod, notice normal low-beam operation. This mod does nothing to affect the daytime running lamps.

This is with the mod and with the high beams engaged. Notice that both the high-beams and low-beams are illuminating simultaneously.
Good luck!
Questions/comments
I have made an effort to explain this mod in a way that can be easily understood. If you still have questions, try leaving a comment. Let me know how it works out or what other models also work with this mod.
I would like to recognize supermattthehero, Matt, for figuring out the logic behind all this.
© 2003 Nat Wilson
Last updated April 15, 2003
